

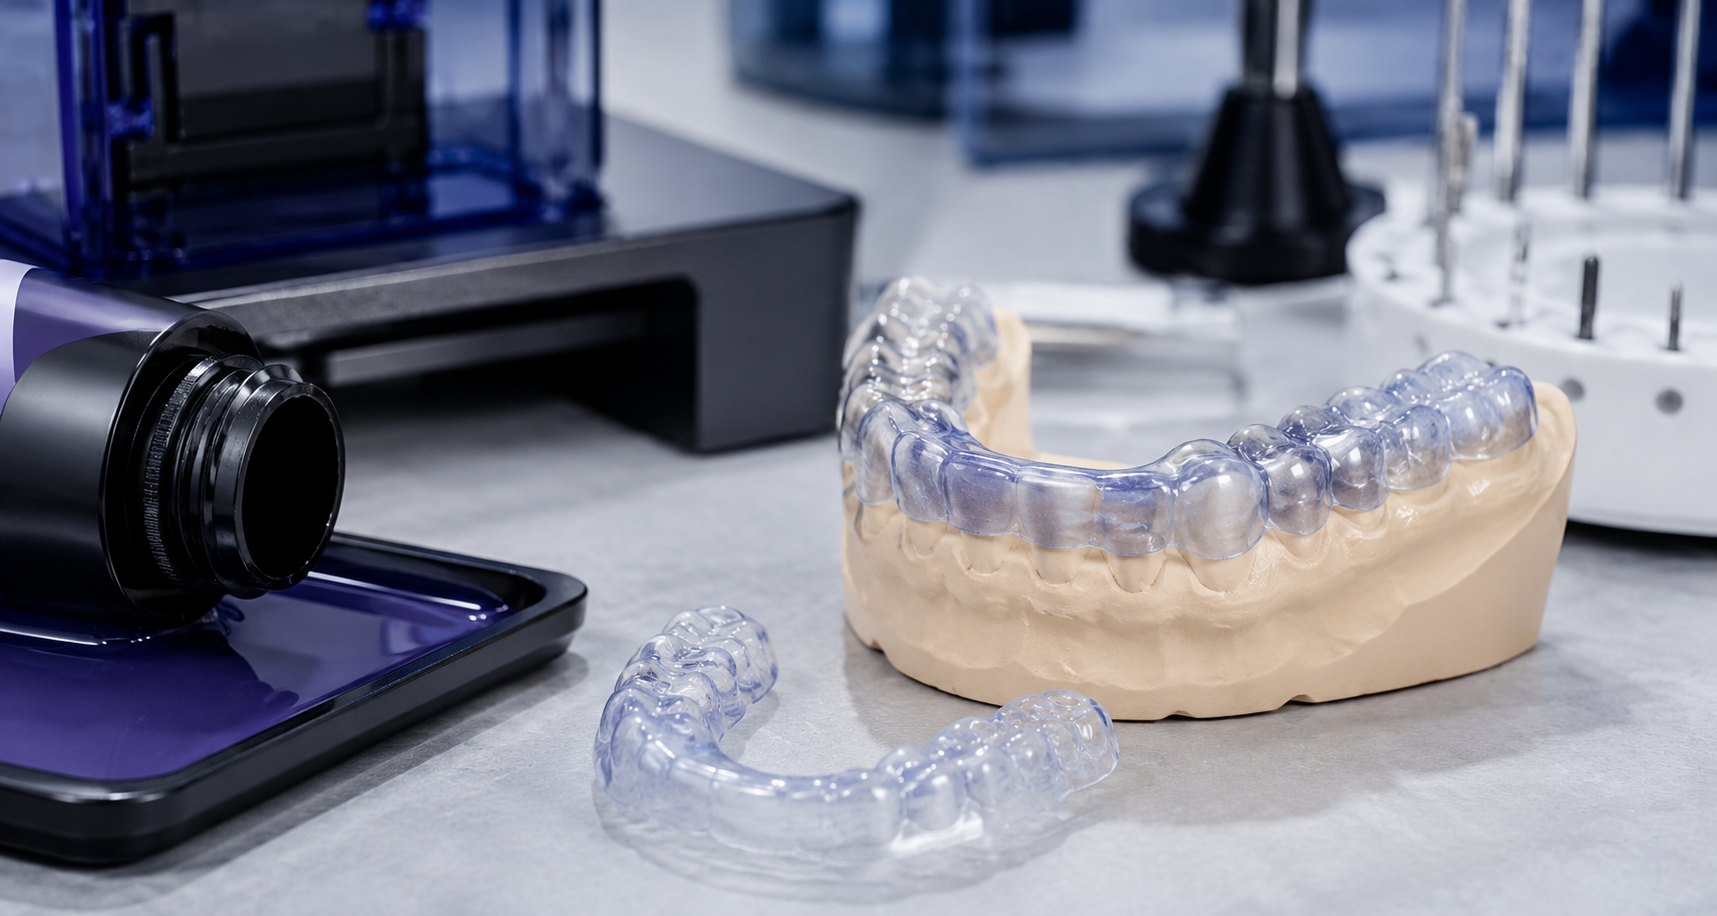
Not all dental photopolymer resins are appropriate for night guard applications. Model resins are too brittle they fracture under occlusal load. Temporary crown resins are formulated for tooth-shade esthetics, not for the flexibility and wear properties an occlusal appliance requires. Surgical guide resins prioritize dimensional rigidity for sleeve accuracy, which is the opposite of what a soft night guard needs.
Key Splint Soft resin from Keystone Industries is specifically formulated for flexible occlusal appliances night guards, soft splints, and sports guards that require controlled flexural behavior under biting load. The material delivers enough flexibility to absorb occlusal forces without fracturing, while retaining sufficient surface hardness to resist abrasion and maintain its polished surface finish over the months of nightly wear a night guard is expected to provide.
The biocompatibility of the cured material meets ISO 10993 requirements for long-term mucosal contact the appropriate standard for an appliance worn against gingival tissue every night. This is not an assumption it is a documented specification, and labs should request the ISO compliance certificate from their supplier before placing Key Splint Soft into clinical production.
The key splint soft resin for night guards is available from ZirconiaGuys from US inventory, meaning no international lead times and consistent batch availability for labs running night guard production at any volume.
Equipment and Materials Required
Before beginning the workflow, confirm you have the following:
- Printer: Any open-system MSLA or DLP printer compatible with 385 nm or 405 nm photopolymer resins. Key Splint Soft is compatible with both wavelengths confirm the specific formulation wavelength on your bottle before printing. Common compatible systems include Asiga MAX, Ackuretta SOL, Roland DWX-52DCi (for milling comparison only this is a printed workflow), Formlabs Form series, and most open-system DLP units.
- Post-cure unit: A calibrated post-cure unit with UV output at the correct wavelength is mandatory not optional. Under-cured splint resin has significantly elevated residual monomer and inferior mechanical properties. An IFU-matched post-cure unit (Asiga Flash, Keystone SpotCure, or equivalent) ensures complete polymerization.
- Wash station: Isopropyl alcohol (IPA) at minimum 90% concentration, or a dedicated resin wash unit. KeySplint Soft requires thorough wash before post-cure uncured resin trapped in concave areas of the appliance will remain soft and tacky after curing if not fully removed during washing.
- Finishing tools: Straight handpiece with carbide burs for sprout removal and margin trimming, pumice slurry, acrylic polishing compound, and a laboratory rag wheel.
To source buy key splint soft clear resin online with same-day US shipping, ZirconiaGuys stocks the full Keystone splint resin range.
Step 1: Digital Design- Scan and Design
Scan: Scan the patient model using your lab scanner. For night guards, scan both arches and register the bite. Accuracy at this stage determines appliance fit a poor scan produces a poor-fitting guard regardless of print quality.
Design: Open the scan data in your splint design software exocad, 3Shape Appliance Designer, or equivalent. Design the night guard to the prescribed thickness, typically 2–3 mm at the occlusal surface for a soft guard, with adequate coverage of the clinical crowns and a smooth, rounded buccal flange that terminates at or just below the gingival margin. Avoid sharp internal line angles that create stress concentrations in the flexible resin. Build in a slight positive offset (0.05–0.1 mm) at the tissue surface to ensure a snug fit after the minor dimensional change that occurs during post-cure.
Step 2: Print Preparation Slicer Settings
Open the STL in your slicer software. The following parameter guidance applies to most open-system MSLA/DLP printers running Key Splint Soft at standard layer thickness.
- Orientation: Orient the night guard tissue-side up at a 15–25 degree angle to the build platform. This orientation minimizes suction forces on the delicate tissue surface during layer separation, reduces support contact on the fitting surface, and optimizes drainage of uncured resin during the wash step. Avoid printing flat on the platform the increased peel force on a large flat surface causes delamination and warping.
- Supports: Use light supports on the non-tissue surfaces buccal and occlusal. Keep the tissue surface as support-free as possible. Where supports are unavoidable on the tissue side, use the smallest contact point diameter your printer supports (typically 0.3–0.4 mm) to minimize surface scarring that requires polishing.
- Layer thickness: 0.05–0.1 mm depending on your printer's capability. Thinner layers (0.05 mm) produce smoother surfaces that require less post-print polishing but increase print time. For production volume night guards, 0.1 mm is the standard balance of speed and surface quality.
- Exposure time: Follow the manufacturer's validated exposure settings for your specific printer and resin batch. For Key Splint Soft, under-exposure produces a tacky, incompletely cured surface. Over-exposure reduces flexibility the defining property of soft splint resin. If your current settings produce a night guard that feels stiffer than expected or shows surface tack after full post-cure, adjust exposure time before proceeding with patient cases.
Step 3: Print
Load the resin vat, confirm the vat and FEP film are clean and free of debris from previous prints, and start the print. For Key Splint Soft, resin temperature affects viscosity and therefore layer adhesion if your lab runs below 20°C in winter, allow the resin to reach room temperature (22–24°C) before printing. Cold resin at 15–18°C prints with higher viscosity, which can produce layer adhesion failures and surface imperfections.
Monitor the first 5–10 layers for adhesion to the build platform. If the print releases during these layers, increase the bottom layer exposure time or clean the FEP film, which may have residual cured fragments affecting light transmission.
Total print time for a standard single-arch night guard at 0.1 mm layer thickness is typically 45–90 minutes depending on printer speed and appliance height.
Step 4: Wash
Remove the build platform from the printer without touching the printed parts with bare hands uncured resin is a skin irritant. Transfer directly to the wash station.
Wash in IPA at 90%+ concentration for 5 minutes with agitation. For a dedicated wash unit (e.g., Keystone WashCure or equivalent), follow the unit's protocol for flexible splint resin typically a shorter wash time than rigid resins, as extended IPA exposure can slightly affect the surface of flexible photopolymers.
After washing, remove supports carefully using flush cutters. Inspect the tissue surface for residual support nubs and smooth with a fine carbide bur if needed before post-cure post-cure hardens the surface, making support removal more difficult.
Allow the part to air-dry for 2–3 minutes before post-curing. Residual IPA on the surface during post-cure can cause minor surface cloudiness.
For more detail on how Key Splint Soft fits into the broader category of dental photopolymer applications, the guide to Resin for Dental 3D Printing: Uses, Types, and Tips covers the full resin selection framework across all dental lab applications.
Step 5: Post-Cure
Post-cure is the step most commonly shortcut in dental lab 3D printing workflows and the step where shortcuts most directly affect clinical quality and biocompatibility.
Place the washed, dry night guard in the post-cure unit tissue-side facing the light source. Run the post-cure cycle to the full time specified by Keystone for Key Splint Soft. For most post-cure units at standard intensity, this is 5–10 minutes per side check the IFU for your specific unit-resin combination.
After curing one side, flip the appliance and post-cure the tissue side for the same duration. The tissue side has the greatest patient contact and must be fully polymerized to minimize residual monomer.
Correct post-cure produces a night guard that is:
- Flexible under hand pressure it deflects without permanent deformation
- Tack-free surface no stickiness when touched
- Consistently translucent or clear throughout no cloudy zones that indicate incomplete cure
If any of these properties are absent, extend post-cure time before delivering the appliance. Residual monomer in an under-cured night guard in extended mucosal contact is a biocompatibility concern.
Step 6: Finishing
Margin trimming: Using a straight handpiece and fine carbide bur, trim the gingival margin to the prescribed boundary. Key Splint Soft trims cleanly the flexible resin does not chip or fracture at the margin the way brittle model resins do.
Occlusal surface: Check the occlusal surface for any print artifacts or layer lines. On a well-printed night guard, occlusal surfaces should require minimal finishing. Smooth any high spots with a fine-grit carbide bur.
Polishing: Polish the entire external surface using pumice slurry on a rag wheel to remove any residual surface texture from printing. Follow with acrylic polishing compound to achieve a high gloss. The tissue-side surface should be smooth and free of any roughness that would cause gingival irritation.
Fit check: Seat the finished appliance on the patient model. A correctly printed and post-cured Key Splint Soft night guard seats with positive retention and uniform adaptation to the model surface no rocking, no blanching at focal contact points, and a smooth buccal flange that does not catch on the model.
When your lab also runs hard splint cases, the key splint hard resin from Keystone follows the same general workflow with adjusted exposure and post-cure parameters for the rigid formulation it is worth standardizing both protocols side by side so technicians can switch between them without workflow confusion.
Step 7: Documentation and Delivery
Before delivering the finished night guard, document the resin batch number and post-cure parameters used for the case. This traceability record is part of a compliant medical device production workflow and is particularly important for appliances that will be in extended mucosal contact.
Package the night guard with a clean microfiber pouch or case. For dental resin 3d printing products including the full Keystone splint resin range, ZirconiaGuys provides batch documentation on request enabling labs to maintain complete material traceability records without chasing documentation from multiple suppliers.
Common Problems and How to Fix Them
- Surface tack after full post-cure: Cause incomplete wash leaving uncured resin on the surface. Solution re-wash for 3 minutes in fresh IPA and re-post-cure.
- Night guard too stiff for a soft splint application: Cause over-exposure during printing. Solution reduce layer exposure time by 10–15% and reprint a test piece before committing to a patient case.
- Layer delamination mid-print: Cause dirty FEP film or cold resin. Solution clean or replace FEP film, bring resin to 22–24°C before printing.
- Poor fit on model — loose retention: Cause orientation warping or insufficient positive tissue-side offset in design. Solution add 0.05–0.1 mm positive offset in the design software and reprint.
- Margin chipping during trimming: Cause over-exposure producing a more rigid material at the margin. Solution reduce exposure time or trim before post-cure when the material is still in a semi-cured, more easily trimmed state.
The Key Splint Soft workflow is straightforward once the parameters are validated for your specific printer but parameter validation is the work that separates labs producing consistent, biocompatible night guards from labs troubleshooting the same problems case after case. Invest the time in a validation run before using the protocol for patient cases: print a test piece, check flexibility, surface finish, and fit, and document the parameters that produced a correct result. That validated protocol then runs without variation across every subsequent case.
For labs building out their full dental resin 3d printing inventory alongside zirconia blocks dental and milled material workflows, the combination of a validated splint resin protocol and a reliable US-stocked supplier relationship for key splint resin and dental zirconia discs is what enables consistent production quality at any volume. Zirconia blank and zirconia dental blanks stock alongside splint resin from a single supplier means one order, one delivery, and consistent documentation across your full material range.


