

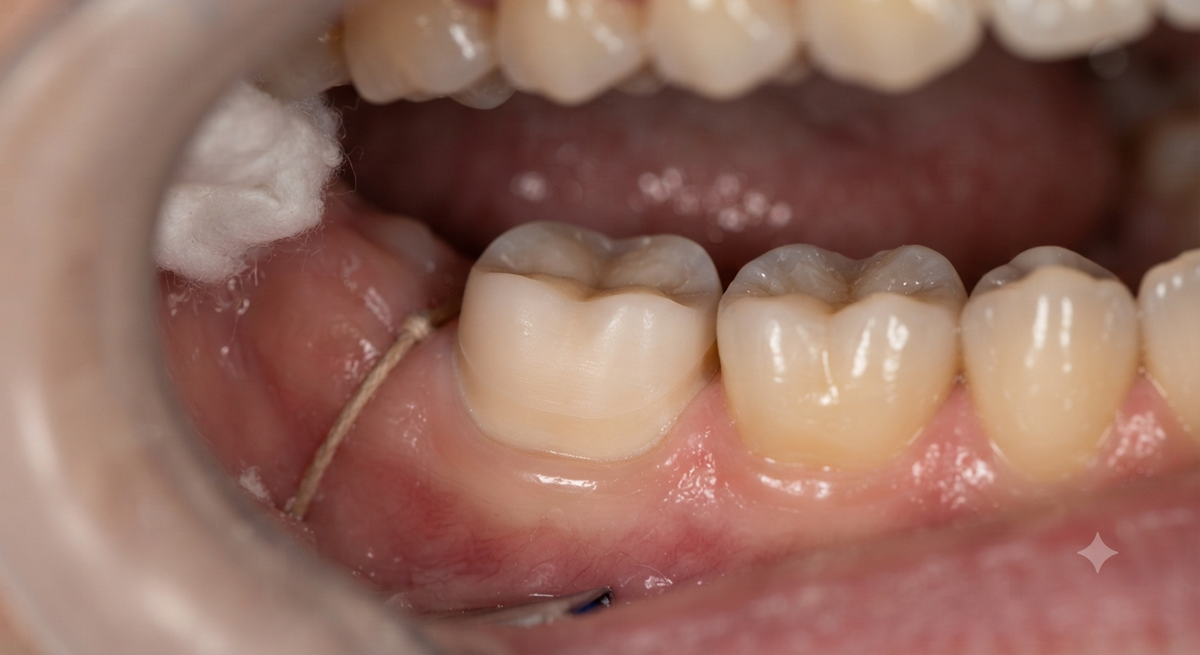
A great zirconia crown starts long before the scan, and long before the mill. It starts at the chair. How the tooth is prepared decides how much space the lab has to work with, how strong the crown will be, and how well the margin seals. Here is a straightforward guide to getting preparation right.
Why Preparation Matters More With Zirconia
Once sintered, zirconia is hard to adjust, and it does not forgive tight spaces. If there is not enough room, the technician either makes the crown too thin or leaves it high in the bite. Neither outcome is good. A thoughtful preparation gives the lab room to design a crown that is strong, well shaped and comfortable.
How Much Occlusal Reduction Is Enough
As a general guide, many manufacturers suggest roughly 1.0 to 1.5 mm of occlusal clearance for monolithic zirconia, although some materials permit less. Strength is the reason many dentists and labs favor 3Y zirconia for posterior crowns, because it can tolerate thinner sections than more translucent grades. Even so, thinner is not always better, so follow the specific guidance for the material you are using.
Reduce following the natural anatomy of the tooth, instead of flattening the occlusal surface. Even reduction across cusps and fossae supports uniform thickness and keeps the crown from having thin spots.
Axial Walls and Taper
Axial reduction commonly falls between about 0.6 and 1.0 mm. Aim for smooth, gently tapered walls with roughly six degrees of total convergence. Too much taper reduces retention, while walls that are too parallel make the crown hard to seat. Retention improves when walls have enough height, so avoid over-shortening short teeth.
Choosing and Finishing the Margin
A well-defined chamfer or rounded shoulder around 0.5 to 1.0 mm deep is a dependable choice for zirconia. These margins give the lab a clear endpoint and give the crown enough material at the edge. Knife-edge or feather-edge margins are harder to reproduce cleanly because the milling tool cannot cut an infinitely thin edge.
Place the margin where it can be scanned and cleaned. Subgingival margins are sometimes necessary, but they should be clear, dry and visible in the scan, because blood or saliva can hide detail.
Smoothing Internal Angles for the Mill
Milling burs have a physical radius, so they cannot cut a sharp internal corner. When the preparation has sharp line angles, the crown design either gets a gap or the lab has to compensate. Rounded internal angles and smooth transitions let the crown seat accurately and reduce the risk of stress points.
Temporary Crowns and Soft Tissue Care
Healthy gums make for a better scan and a better-fitting crown. After preparation, a well-fitting temporary protects the tooth and helps the tissue stay calm while the lab works. If the margin area looks inflamed at the time of scanning, consider waiting or using a retraction method, since bleeding can hide the margin. A few extra minutes here can save a remake later.
Material Choice and Prep Design Go Hand in Hand
The preparation you plan should match the material the lab will use. If you are conservative with reduction, tell the lab so they can choose a strong grade such as 3Y zirconia. For example, options such as TT White zirconia for crowns can be considered when you want a dependable material for everyday single units. Share the tooth position, bite pattern and preparation depth in your prescription so the lab can recommend the best fit.
Sharing Your Prep Details With the Lab
The lab can only design what it can see and understand. Along with the scan, mention the tooth number, the material you prefer, the amount of reduction you achieved, and anything unusual such as a short clinical crown or a heavy bite. Photos of the preparation and a short note on the patient's bite habits can help the technician choose the right thickness and connector design.
A Pre-Prep Checklist
• Check the opposing tooth position and bite load.
• Plan reduction by material guidance, not habit.
• Round all internal angles and finish the margin clearly.
• Scan with clean, dry margins and include the opposing arch.
With even reduction, a clear margin and the right material choice, whether that is 3Y zirconia in the back of the mouth or a more translucent grade up front, your lab can deliver a crown that fits well and lasts. When in doubt, a quick call to the lab before preparing is one of the best habits you can build.


