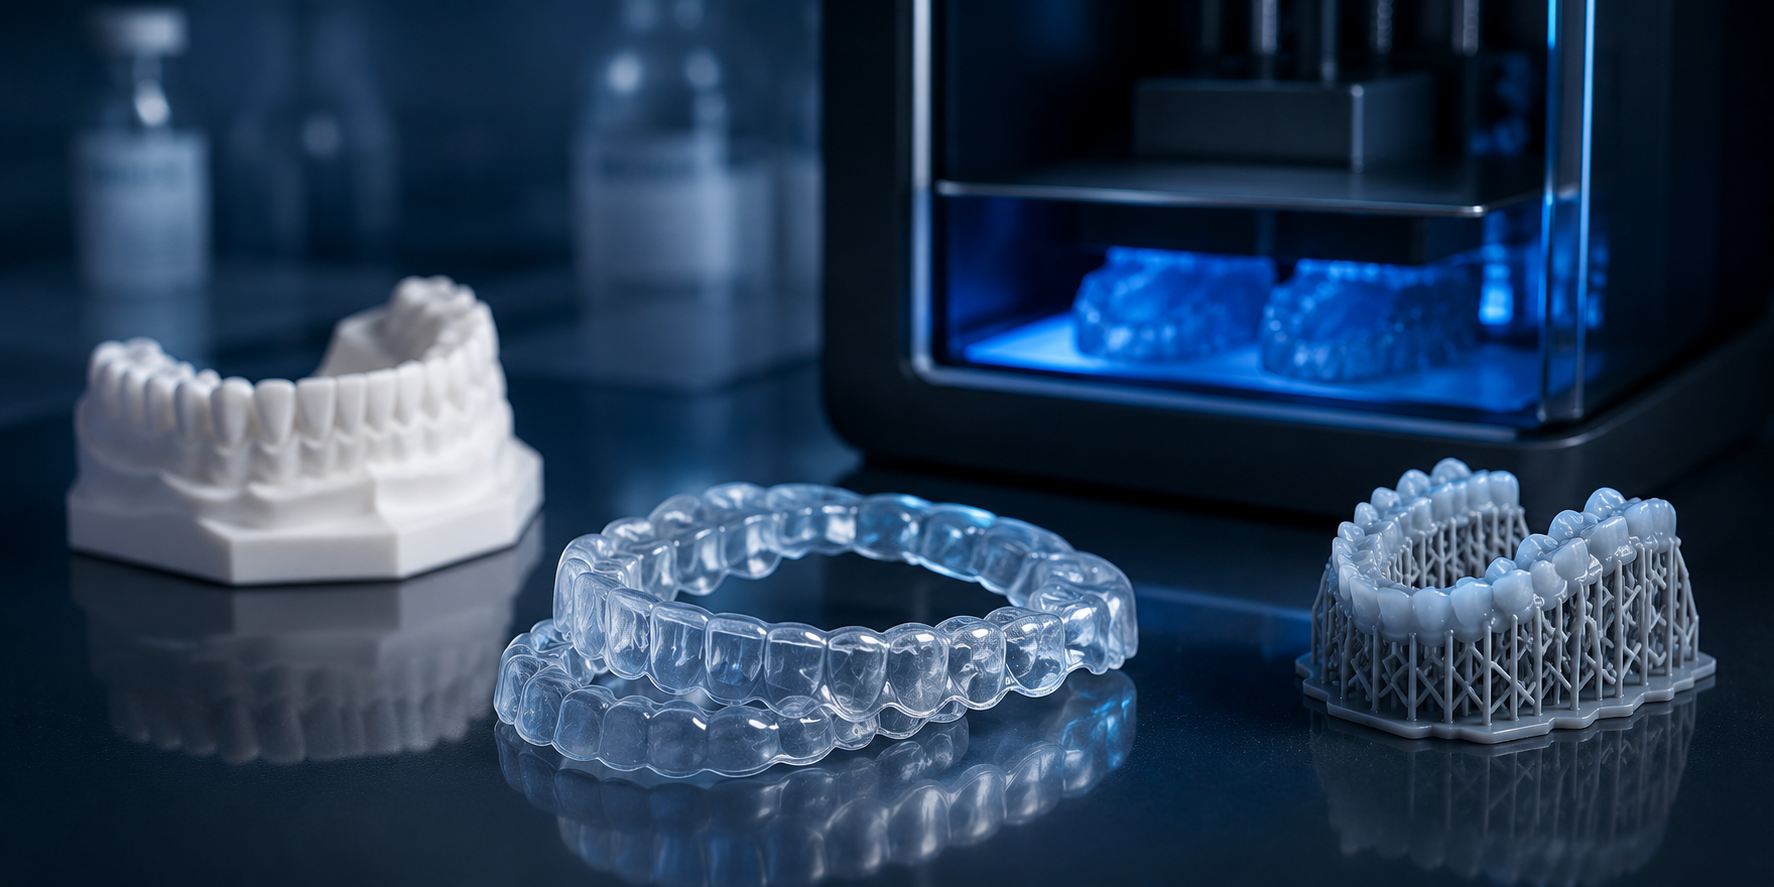
The shift to 3D-printed bite splints has been one of the cleaner transitions in dental lab workflows. Design digitally, send to printer, post-cure, deliver. Compared to vacuum-formed thermoplastic splints, the accuracy is better, the occlusal scheme is more precise, and the fit is more consistent across technicians. But the resin selection decision which material you print with is where labs either capture those advantages fully or squander them on a cheaper product that prints poorly, fails biocompatibility, or fractures in the patient's mouth.
This guide covers the full resin selection process for 3D-printed bite splints: what properties matter, what the difference is between hard and soft formulations, how to evaluate biocompatibility, and which products dental labs in the US are using as their production standard. Whether your lab is switching from vacuum-formed splints, evaluating a new resin supplier, or troubleshooting print quality problems, this is the specification framework you need.
Why Resin Selection Matters More Than Most Labs Realize?
A bite splint is a long-term intraoral appliance. Unlike a temporary crown that sits for a few weeks before being replaced, a night guard or bruxism splint may be worn every night for years. The resin you choose is in contact with oral tissue for extended periods, under repeated mechanical load, and exposed to saliva, cleaning agents, and the full range of oral pH conditions. Material performance in this environment is not a theoretical concern it is a clinical requirement with direct patient safety implications.
The properties that matter most are not always the ones labs evaluate first. Print resolution and layer adhesion get attention. Biocompatibility, long-term hardness retention, and fracture resistance under cyclic load often do not until a splint fractures at 18 months and the lab is fielding a remake request.
The good news is that the resin evaluation framework is straightforward once you know what to look for. Five properties determine whether a resin is appropriate for 3D-printed bite splints. Everything else is secondary.
The Five Properties That Determine Splint Resin Quality
1. Shore D Hardness
Bite splints come in two clinical categories: hard splints for bruxism management and occlusal stabilization, and soft splints for mild bruxism, TMJ comfort, and athletic use. For hard splints which represent the majority of lab production Shore D hardness in the 75–85 range is the clinical standard. Below 75, the splint deforms under heavy bruxism load and fails to provide the occlusal stability the treatment requires. Above 85, the material becomes brittle and chips at thin margins.
Soft splints target Shore A hardness in the 60–80 range flexible enough to cushion occlusal impact without the rigidity of hard formulations.
For most dental labs, the clinical demand for hard resin for dental splints significantly outweighs demand for soft formulations. Stock accordingly.
2. Biocompatibility
Any resin in long-term intraoral contact must meet ISO 10993 biocompatibility standards and Class II or Class IIa medical device requirements depending on your market. In the US, this means FDA clearance or 510(k) compliance for intraoral use. Resins that are not cleared for intraoral use including many 3D printing resins sold for dental models and trays are not appropriate for splint production, regardless of how well they print.
Always verify that the resin you specify carries documented intraoral biocompatibility clearance before using it in a clinical splint application. This is not optional.
3. Post-Cure Dimensional Accuracy
3D-printed resins shrink slightly during photopolymerization. Incomplete curing leaves residual monomer a biocompatibility risk and a mechanical weakness. Over-curing produces excessive post-cure shrinkage that distorts fit. The correct post-cure protocol — time, temperature, light intensity varies by resin formulation and must be followed precisely for each product.
Resins that deliver consistent dimensional accuracy across the post-cure cycle are the ones that produce splints that fit well on the first delivery. Poor dimensional control forces extensive chairside adjustment that defeats the efficiency benefit of the digital workflow.
4. Fracture Resistance Under Cyclic Load
A bruxism splint is loaded and unloaded thousands of times per night, every night. The failure mode is not a single high-force fracture event it is fatigue fracture after thousands of cycles at lower load levels. Resins that perform well in static flexural strength tests but have poor fatigue resistance can fail clinically even when the single-event strength numbers look adequate.
Evaluate fatigue data, not just static flexural strength, when comparing resin formulations for hard splint applications.
5. Surface Smoothness and Polish Retention
The tissue-contacting surfaces of a splint must be smooth to prevent plaque accumulation and tissue irritation. Rough surfaces harbor bacteria, accelerate staining, and reduce patient compliance. Post-print surface smoothness is partly a function of print resolution and layer thickness, but it is also a material property some resins sand and polish to a high-gloss finish easily, while others remain micro-rough regardless of polishing effort.
Hard vs. Soft Splint Resins: Knowing Which to Specify
The hard/soft distinction is the most important clinical decision in splint resin selection, and it should be driven by the prescribing dentist's treatment rationale not by lab material availability.
Key splint hard resin is the production standard for bruxism management splints, Michigan-style flat-plane splints, and occlusal stabilization appliances. Its Shore D hardness profile provides the rigidity needed to maintain a precise occlusal scheme across the arc of closure, which is the clinical mechanism by which these appliances achieve their therapeutic effect. Labs running Keystone's KeySplint Hard can process at 50µm or 100µm layer resolution depending on their printer's capability, with consistent dimensional accuracy across the post-cure cycle.
Soft splint resins are appropriate for comfort guards, athletic mouthguards in limited clinical use, and cases where the prescribing dentist specifically requires a resilient, shock-absorbing material. The softer durometer is less effective for managing active bruxism and should not be substituted for hard formulations in cases where occlusal rigidity is clinically indicated.
If you produce both hard and soft splints at volume, stock both formulations as separate inventory items. Substituting one for the other because a stock item ran out is a clinical error these are not interchangeable materials.
Print Settings, Post-Cure, and Workflow Considerations
Even the best dental splint printing resin underperforms when print settings and post-cure protocols are not optimized for the specific formulation. Here is the workflow framework that produces consistent results:
- Layer thickness: 50µm layers deliver better surface smoothness and marginal accuracy for thin splint margins. 100µm layers are faster and acceptable for posterior full-coverage designs where marginal precision is less critical. Match layer thickness to the specific clinical requirements of each design.
- Orientation: Print splints at 45–60° to the build platform. Flat horizontal orientation causes delamination stress across the full arch span. Vertical orientation concentrates support mark placement at the tissue surface. Angled orientation distributes both delamination stress and support attachment points most favorably.
- Support strategy: Place supports on the non-occlusal, non-tissue surfaces wherever possible. Support removal marks on tissue-contacting or occlusal surfaces require extensive post-processing to eliminate and can compromise fit accuracy if not fully removed.
- Post-cure: Follow the manufacturer's published post-cure protocol exactly — time under curing light, curing light intensity, and temperature. Under-cured resin retains residual monomer, compromising biocompatibility and mechanical properties. Over-cured resin can warp, particularly in thin sections. A calibrated post-cure unit with documented UV output is not optional for biocompatible intraoral resin production.
- Polish sequence: After support removal, progress through 400, 800, and 1200 grit wet-dry sandpaper on non-occlusal surfaces, then buff to high gloss with acrylic polishing compound. Occlusal surfaces should be refined by hand under articulating paper contact to verify fit before final polish.
Completing Your Lab's 3D Printing Material Stack
Splint resin is one component of a full 3D printing material workflow. Labs that also produce custom impression trays, surgical guides, or orthodontic models use distinct resins for each application and the same quality framework applies across all of them. Key tray resin for dental labs covers the custom tray application with a formulation optimized for rigidity, dimensional accuracy, and ease of trimming rather than the biocompatibility requirements of intraoral splint resins.
This material distinction matters operationally: labs that use a single resin across multiple applications to simplify inventory are accepting performance compromises in every application. The correct resin for each application, stocked as separate inventory, produces better clinical outcomes and fewer remakes across the full lab workflow.
It is also worth noting that the labs most efficiently managing their 3D printing workflow are often the same labs running mature CAD/CAM milling workflows with established zirconia blocks dental and PMMA disc inventories. The operational discipline required to manage milling materials tracking batch consistency, matching grade to indication, following manufacturer specifications transfers directly to 3D printing resin management. Labs that have built that discipline in their milling workflow adopt good resin management practices more readily than labs encountering it for the first time.
If you are at the stage of building or rationalizing your full CAD/CAM material inventory zirconia blank and dental zirconia discs for milling alongside 3D printing resins for printed appliances consolidating through a single US supplier reduces ordering complexity and gives you consistent batch documentation across your full material range. ZirconiaGuys functions as a zirconia materials distributor usa and stocks Keystone resin products alongside the full Aidite and Upcera zirconia blocks and PMMA range.
The resin you choose for 3D-printed bite splints is a clinical decision, not just a material procurement decision. Biocompatibility, hardness, fatigue resistance, and post-cure accuracy determine whether a splint performs therapeutically over its intended service life or comes back as a remake. The framework is straightforward: verify intraoral clearance first, match hardness to indication, follow the manufacturer's post-cure protocol precisely, and source from a supplier that provides consistent batch documentation.
Getting this decision right means your lab's digital splint workflow delivers on its efficiency and quality promises case after case, without the remake and adjustment cycles that undermine the value of the digital investment.


