The outcome of a composite restoration is determined by two things: the quality of the material and the precision of the instruments used to place, shape, and finish it. Most clinicians invest significant time selecting the right composite resin shade, opacity, filler particle size, viscosity, and then pick up whatever instruments are available in the tray without applying the same level of thought. That mismatch is one of the most common sources of avoidable finishing problems, surface irregularities, and restorations that require more chair time than they should.
This guide covers the full instrument workflow for composite restorations from initial placement through final polish with practical guidance on how to match instrument selection to the specific requirements of the material being used and the clinical situation being treated. Understanding the logic behind instrument selection produces better restorations in less time, with less rework.
Why Instrument Selection Matters as Much as Material Selection
Every composite restoration moves through three phases: placement and adaptation, contouring and shaping, and finishing and polishing. Each phase has distinct instrument requirements, and using instruments designed for one phase in another introduces problems that compound through the rest of the workflow.
A placement instrument used for finishing leaves drag marks in the surface. A finishing bur used too early on uncured composite removes material rather than shaping it. A brush that is too wide for the area being worked creates surface streaking that requires additional finishing steps to correct. The instrument is not just a handle for moving material it is a precision tool whose geometry, surface coating, stiffness, and tip design all affect the clinical outcome.
The selection of the right composite resin for teeth is the starting point but instrument selection is what determines whether the material performs to its potential. A high-quality nanofilled composite placed with poorly matched instruments will produce a worse surface outcome than a standard hybrid composite placed and finished with the correct tool sequence. Instrument investment is as important as material investment in restorative dentistry.
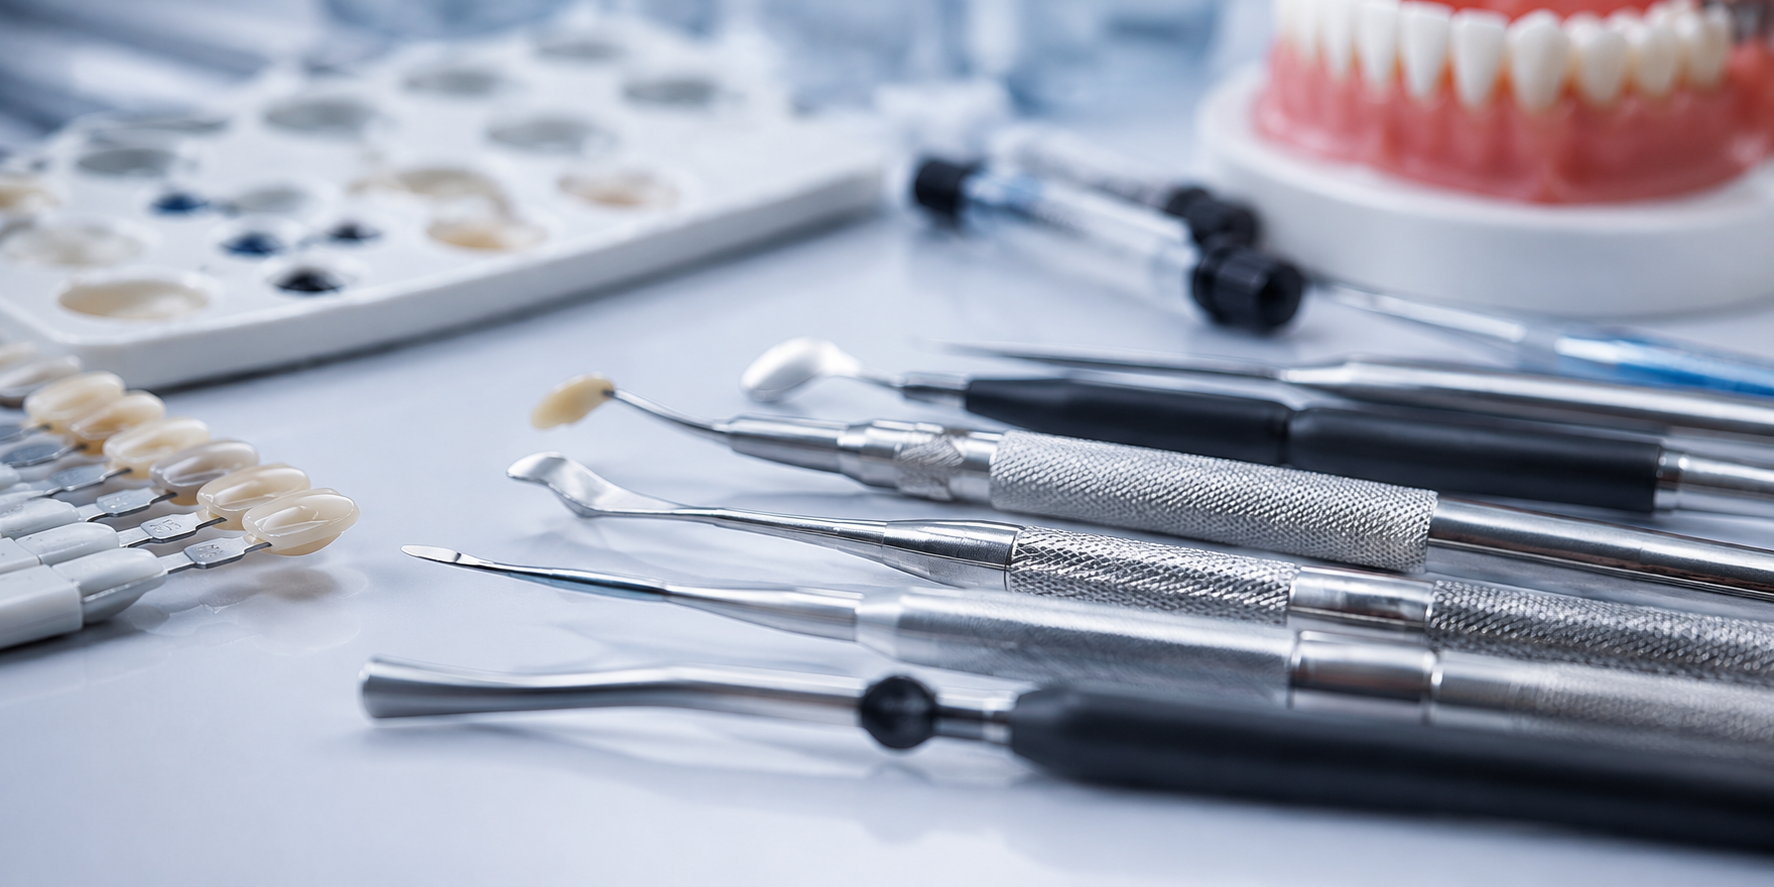
Phase 1: Placement and Condensation Instruments
Placement instruments serve two functions: carrying composite from the dispensing tip to the preparation, and adapting the material to the cavity walls without voids. The geometry of the working tip determines how well it performs both functions.
Flat-bladed placement instruments are the standard for initial composite placement in both anterior and posterior cases. The flat, paddle-like working end allows the operator to press the composite against the preparation walls and eliminate air voids at the composite-tooth interface. Non-flexible blades are preferred for this application a stiff blade transmits placement pressure accurately to the composite, ensuring adaptation at cavity margins where bonding failure begins if air entrapment is not eliminated.
Surface coating on the blade is critical. Uncoated stainless steel instruments cause composite to stick and pull back when the instrument is withdrawn, dragging material away from margins and creating voids. Titanium-nitride-coated or PTFE-coated instruments prevent this tug-back, enabling clean separation between the instrument and the composite surface after each placement pass.
Condensers feature blunt or rounded working ends for compacting composite in posterior preparations. In occlusal preparations with internal line angles and narrow boxes, the rounded condenser tip reaches areas that a flat paddle cannot access. Condensers are particularly important in proximal box preparations where composite must be adapted against the matrix band before the contact area can be built. Using a flat placement instrument in this zone consistently leaves marginal gaps at the gingival floor of the proximal box the most common failure point in posterior composite restorations.
Key placement instrument checklist:
- Non-stick surface coating (titanium nitride, PTFE, or resin-coated)
- Non-flexible blade for accurate pressure transmission
- Flat-ended paddle for occlusal and facial surfaces
- Rounded condenser tip for proximal boxes and internal angles
- Keep blades clean during placement wipe with alcohol gauze between increments
Phase 2: Contouring and Shaping Instruments
After each composite increment is placed and cured, contouring instruments shape the material to match the natural tooth anatomy. The working end geometry required varies significantly between anterior and posterior cases, and between different zones within the same restoration.
Composite carvers are the primary shaping instruments. Thin-bladed carvers with pointed or chisel-shaped tips are essential for anterior work they access the interproximal embrasures, define incisal edge anatomy, and create the facial-lingual line angles that give anterior restorations their natural appearance. Without thin-bladed access to these zones, interproximal composite will be over-contoured and the restoration will look bulky from the facial view.
For posterior composites, carvers with rounded or ball-shaped tips recreate occlusal anatomy. The key functional requirement here is that the instrument must be able to form cusp tips and developmental grooves without dragging material away from the surrounding surface. A tip that is too large for the groove being formed will displace material from adjacent cusp slopes. Match the carver tip size to the anatomical feature being created.
Brushes are the most versatile contouring tools and the most commonly misused. The correct application of artist brushes in composite contouring involves two distinct uses: smoothing layer interfaces during incremental placement, and surface blending on the final increment before final cure. Both applications require the brush to be pre-wetted with a resin modeling agent not adhesive, not bond to prevent dry bristles from drawing composite material off the surface through capillary action.
Brush size selection matters. A fine-tip brush for embrasure work and tinting. A medium-width flat brush for facial surface blending. A wide flat brush for full-surface smoothing on large anterior restorations. Using a wide brush in a narrow embrasure leaves streaking that requires additional finishing. Using a fine brush across a large facial surface leaves parallel tracks in the composite that mirror the brush stroke direction.
Burnishers smooth and blend composite layer transitions and surface contours. Despite the name, composite cannot be burnished in the same sense as metal the instrument is used to flatten surface irregularities, close surface porosity, and blend the transition between composite and enamel margins. Ball-burnishers are the standard format for this application. The rounded tip follows surface contours without catching at margin transitions the way angular instruments do.
For labs procuring zirconia dental blanks alongside composite materials, the same principle of format-specific tool matching applies just as a wrong instrument phase disrupts composite placement, using the wrong disc grade for the restoration type disrupts the zirconia workflow.
Phase 3: Finishing and Polishing Instruments
Finishing removes gross surface irregularities and shapes the final anatomy. Polishing refines the surface to clinical gloss. These are distinct phases requiring different instruments treating them as a single step is the most common cause of composite restorations that look clinically acceptable in the operatory but develop early staining and surface roughness in service.
Finishing diamonds and carbide burs perform the initial surface refinement at low speed under water cooling. Coarse finishing diamonds (25–40 micron) remove bulk irregularities and gross flash at margins. Fine finishing diamonds (8–15 micron) refine surface contour without removing significant tooth structure. The critical rule: finish before polishing. Attempting to polish a surface that still has machining scratches from the placement and contouring phase produces a glossy surface with visible micro-scratches that stain rapidly.
Flexible finishing discs (aluminum oxide or silicon carbide) are the standard for facial surface finishing on anterior restorations. The flexibility of the disc backing enables it to follow natural tooth contours without creating flat spots. Work through the grit sequence coarse to fine to extra-fine without skipping steps. Each step removes the scratches from the previous step. Skipping a grit level leaves the scratch pattern of the coarser step visible under the final polish.
Polishing points and cups are the final step. Silicone-impregnated rubber points and cups loaded with diamond or aluminum oxide polishing paste produce the high-gloss surface that characterizes a well-finished composite. The polishing instrument should be used with light, sweeping pressure at low speed high pressure generates frictional heat that softens the composite surface and creates smear rather than polish.
Interproximal finishing strips are required for any proximal surface that contacts adjacent teeth. A restoration that is perfectly finished on the facial and occlusal surfaces but has unfinished proximal flash or rough proximal margins will accumulate biofilm and irritate the interproximal papilla regardless of how polished the visible surfaces are. Include interproximal strips as a standard step in every posterior composite finishing sequence.
Matching Instrument Choice to Composite Material Type
Not all composite resin for teeth behaves the same way under instruments, and instrument selection should account for the specific material being used. The filler particle size, filler loading, viscosity, and matrix chemistry all affect how the material responds to placement, contouring, and finishing instruments.
Microhybrid composites (filler particles 0.4–1 micron) are the most forgiving under instruments. They adapt well to placement instruments, carve cleanly, and polish readily with standard finishing and polishing sequences. The broad filler particle range provides surface smoothness adequate for most clinical applications.
Nanofilled composites (filler particles 20–75 nanometers) deliver the highest achievable surface polish but require more careful instrument management during placement. The low viscosity of some nanofilled formulations makes them prone to tug-back on uncoated instruments non-stick coatings are more critical with these materials than with microhybrids. During finishing, nanofilled composites reach higher gloss with fewer polishing steps, but over-finishing removes the surface layer that contains the finest filler particles and exposes a rougher subsurface.
Bulk-fill composites have higher viscosity and require stiffer, more robust condensers for posterior placement. The material's self-leveling behavior reduces the adaptation effort required at cavity walls but does not eliminate the need for careful marginal adaptation at the gingival floor of proximal boxes. Carving bulk-fill material requires less pressure than conventional composites the material is softer before curing and responds to lighter instrument contact.
As a dedicated zirconia materials distributor USA, ZirconiaGuys understands that the full restorative workflow from zirconia blocks dental for permanent fixed restorations to composite instruments and materials for direct restorative cases depends on matching the right material to the right tool at every step. The same precision that determines which zirconia blank grade is appropriate for a posterior bridge determines which instrument geometry is appropriate for a specific composite placement scenario.
Instrument Maintenance: The Factor Most Clinicians Underestimate
Composite instruments degrade in performance faster than most clinicians recognize. Scratched or pitted blade surfaces cause composite sticking regardless of the original coating. Bent or deformed tips change the pressure distribution geometry. Worn polishing instruments lose their abrasive particle loading and produce diminishing results that the operator often compensates for by applying more pressure which generates heat and damages the composite surface.
Establish a regular inspection and replacement schedule for composite instruments. Placement instruments and carvers should be inspected for surface damage after every autoclave cycle the heat cycling of sterilization accelerates coating degradation. Replace instruments when the surface coating shows visible pitting or when composite begins sticking during use.
For labs and clinicians sourcing both dental zirconia discs for CAD/CAM fixed restorations and direct composite materials and instruments from a single supplier, ZirconiaGuys stocks Keystone composite resins alongside the full range of Upcera and Aidite zirconia products all from US inventory, with consistent batch documentation and technical support.
Composite instrument selection is not a secondary decision in restorative dentistry — it is as clinically significant as the material selection itself. A placement instrument that causes tug-back wastes the adaptation work done at the preparation margins. A carver that is too large for the anatomy being created over-contours the restoration. A polishing sequence that skips a grit step leaves surface scratches that stain in the first six months of clinical service.
Match placement instruments to the material viscosity and preparation geometry. Match contouring instruments to the specific anatomical features being created. Work through the full finishing and polishing sequence without skipping steps. Keep instruments clean and replace them when surface condition degrades. These four principles, applied consistently, are what separate composite restorations that last from those that require early replacement.


